Step 1: Starting off
Start by adding 10 closed rings to the queen ring. Close the queen ring and you've completed the first row!
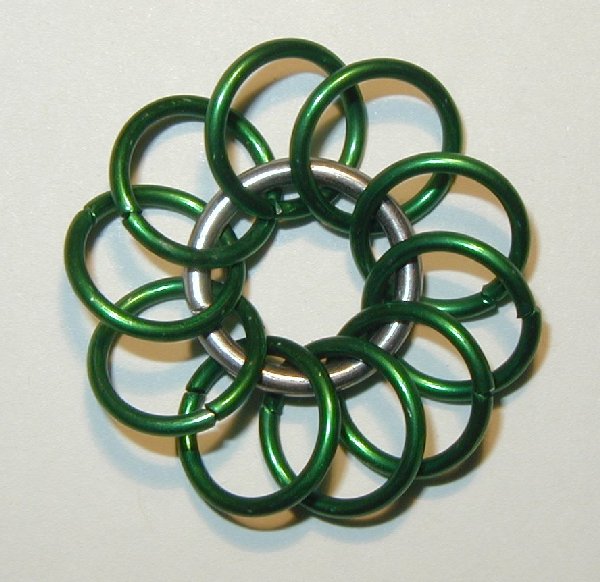
Step 2: Easy second row
Add the 10 rings to the results from Step 1 in the standard format (each ring encloses two rings from Step 1).
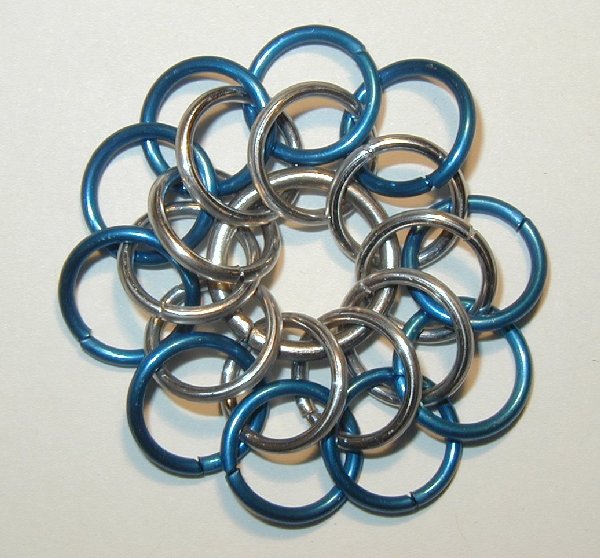
Step 3: First expansion
First, add 10 rings to the results from Step 2 in the standard format (each ring encloses two rings from Step 2).
Second, insert a ring into a single ring from step 2, and insert the remaining four the same way, skipping two other rings that you inserted in the first part of this step.
These five extra rings are known as expansion rings.
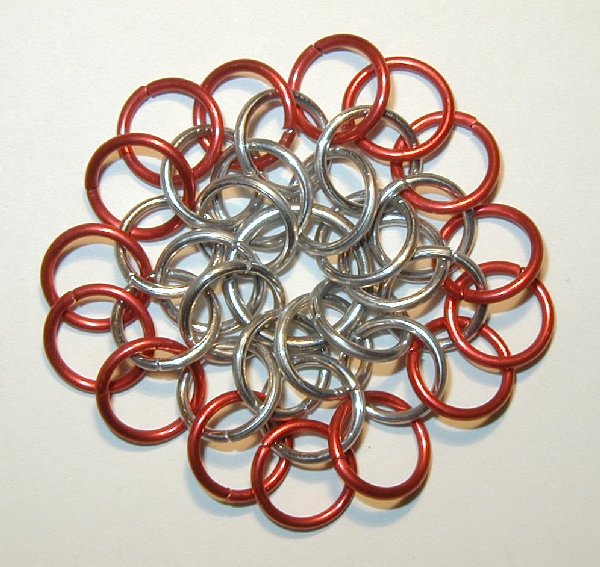
Step 4: Another easy row
Add the 15 rings to the results from Step 3 in the standard format (each ring encloses two rings from Step 3).
No expansion rings in this step.
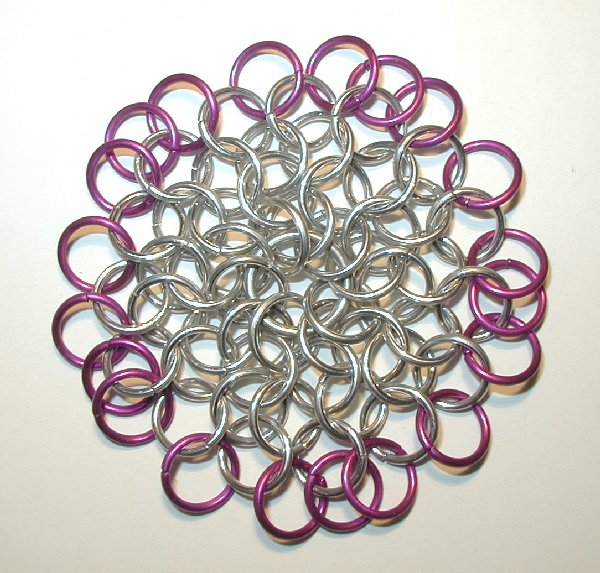
Step 5: Second expansion
First, add 15 rings to the results from Step 4 in the standard format (each ring encloses two rings from Step 4).
Second, insert a ring into a single ring from step 4, and insert the remaining four the same way, skipping three other rings that you inserted in the first part of this step.